
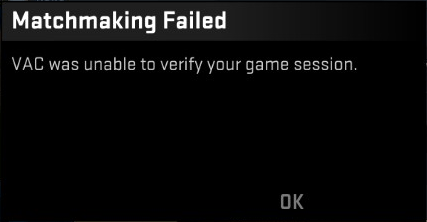
You’re seeing an error “VAC was unable to verify your game session” on CS: GO? You’re not alone. Many CS: GO players have had the same error occurring when they’re trying to matchmake.
Đang xem: Vac was unable to verify your game session là gì
Xem thêm: Vac was unable to verify your game session là gì
This is very annoying. You can’t join matchmaking because of this error. But don’t worry. This error can still be fixed.
Mục lục
Fixes to try
The following are a few methods that have helped many CS: GO players. You don’t have to try them all; just work your way down the list until you find the one that works for you.
Method 1: Restart your Steam client
You may get this error because there are some corruption issues with your Steam client. To fix those issues, you should restart your client:
1)On your Steam client, click Steam in the upper left corner, then click Exit.
2)Open your Steam client again.
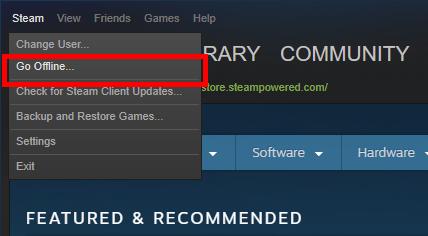
3)Click Steam in the upper left corner, then click Go Offline.
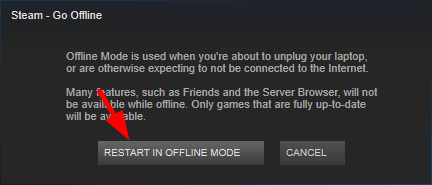
4)Click RESTART IN OFFLINE MODE.
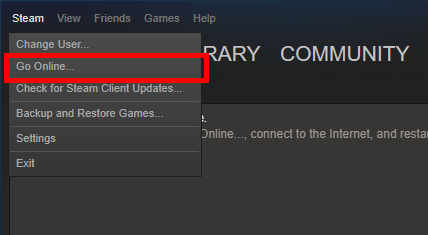
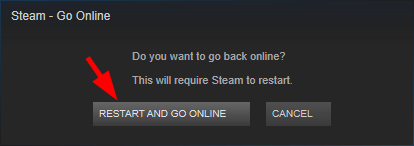
5)Click Steam, then click Go Online.
6) Click RESTART AND GO ONLINE.
Đọc thêm: Sen Tây Hồ
7) Launch your game
If this method works for you, you won’t see the error again. But if not, there are three more fixes to try…
Method 2: Verify your game files
The error may occur on your CS: GO game because there are integrity issues with your game files. You should check your game files with your Steam client to see if that’s the case for you:
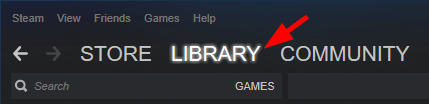
1)On your Steam client, click LIBRARY.
2)Right click your game (Counter-Strike: Global Offensive) and click Properties.
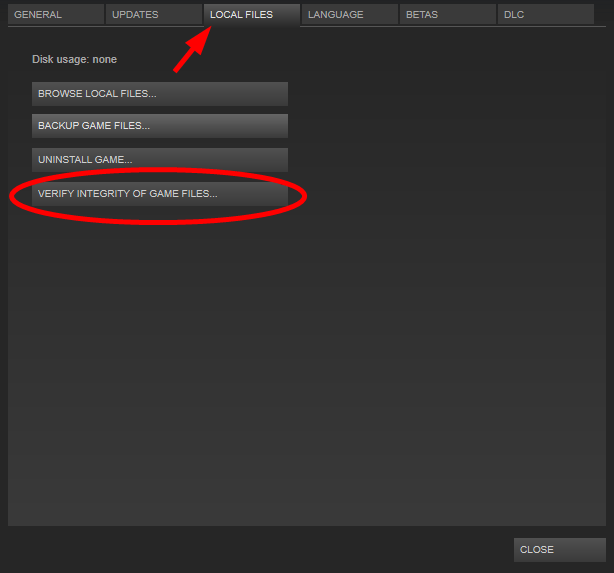
3)Click the LOCAL FILEStab, then click VERIFY INTEGRITY OF GAME FILES.
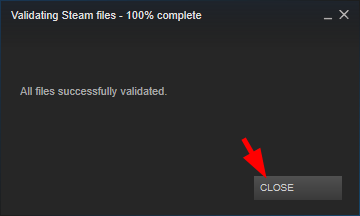
4) Wait until the process completes, then click CLOSE.
Xem thêm: Cho Nick Bns Vip Miễn Phí – Blade And Soul Account For Sale
5)Launch your game. Then check to see if the error’s gone.
Method 3: Repair your Steam client
Perhaps your Steam client is corrupted, so you get the error on your CS: GO. You should try repairing your Steam client. To do so:
1)On your Steam client, click Steam in the upper left corner, then click Exit.
2)Click the Start button in the lower left corner of the screen.

Đọc thêm: Epic Games Launcher 13.3.0 Công cụ tải và chơi game trên Epic Games Store
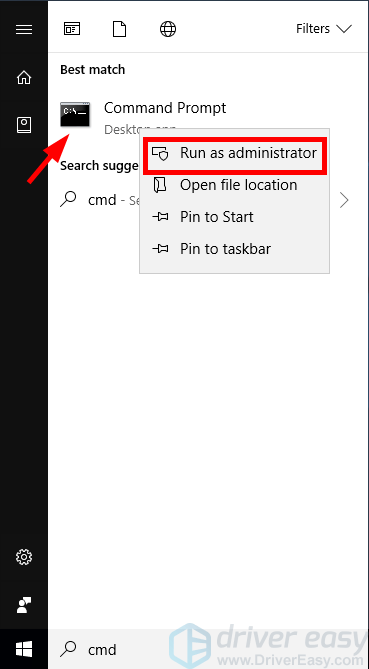
3) Type “cmd“, then right click Command Prompt or CMD and click Run as administrator.
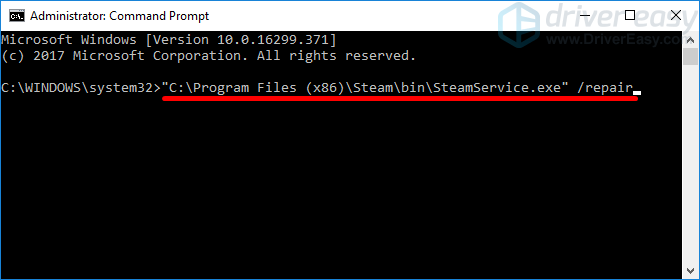
4)In Command Prompt, type:
“C:Program Files (x86)SteaminSteamService.exe” /repair “C:Program Files (x86)Steam” represents where the Steam client is located. You should change this if your Steam is at a different location.Then press Enter on your keyboard.
5)Run your Steam client and launch your game. Then check to see if this fixes your error.
If this method helps you fix your error, great!. But if not, you may need to…
Method 4: Update your drivers
You may get this VAC error if you’re using a wrong driver or it’s out of date. You should update your drivers and see if this helps you fix your error. If you don’t have the time, patience or skills to update your driver manually, you can do it automatically with Driver Easy.
Driver Easy will automatically recognize your system and find the correct drivers for it. You don’t need to know exactly what system your computer is running, you don’t need to risk downloading and installing the wrong driver, and you don’t need to worry about making a mistake when installing.
You can download and install your drivers by using either Free or Pro version of Driver Easy. But with the Pro version it takes only 2clicks (and you get full support and a 30-day money back guarantee):
1)Download and install Driver Easy.
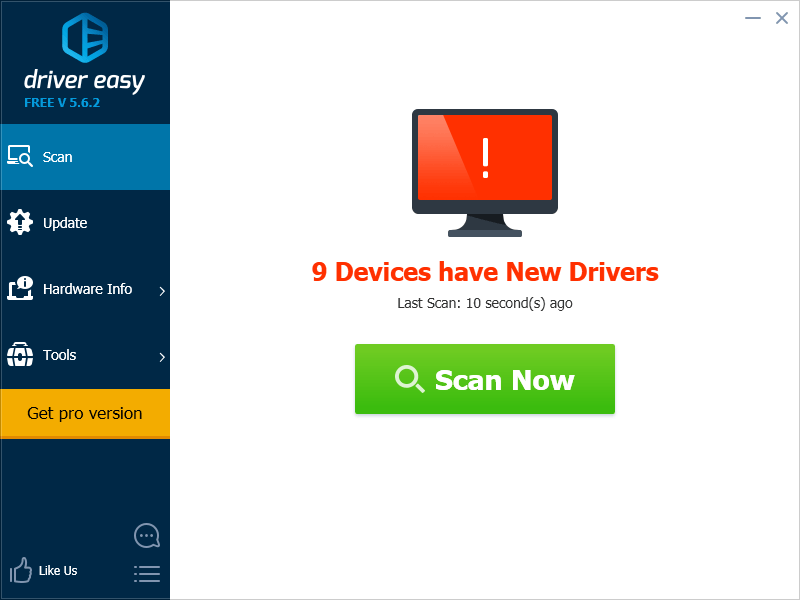
2)Run Driver Easy and click theScan Now button. Driver Easy will then scan your computer and detect any problem drivers.
Xem thêm: Nguồn Gốc Của Game Warframe Là Gì, Nguồn Gốc Của Game: Warframe
3)Click the Update button next to each device to download the latest and correct driver for it.You can also click theUpdate All button at the bottom right to automatically update all outdated or missing drivers on your computer (this requires the Pro version— if you don’t already have it, you will be prompted to upgrade when you click Update All).
Tham khảo thêm: Review Phim End Game Là Gì, Tóm Tắt Phim Avengers Endgame


